Art College Crash Course, Lesson 14: Lip Sync
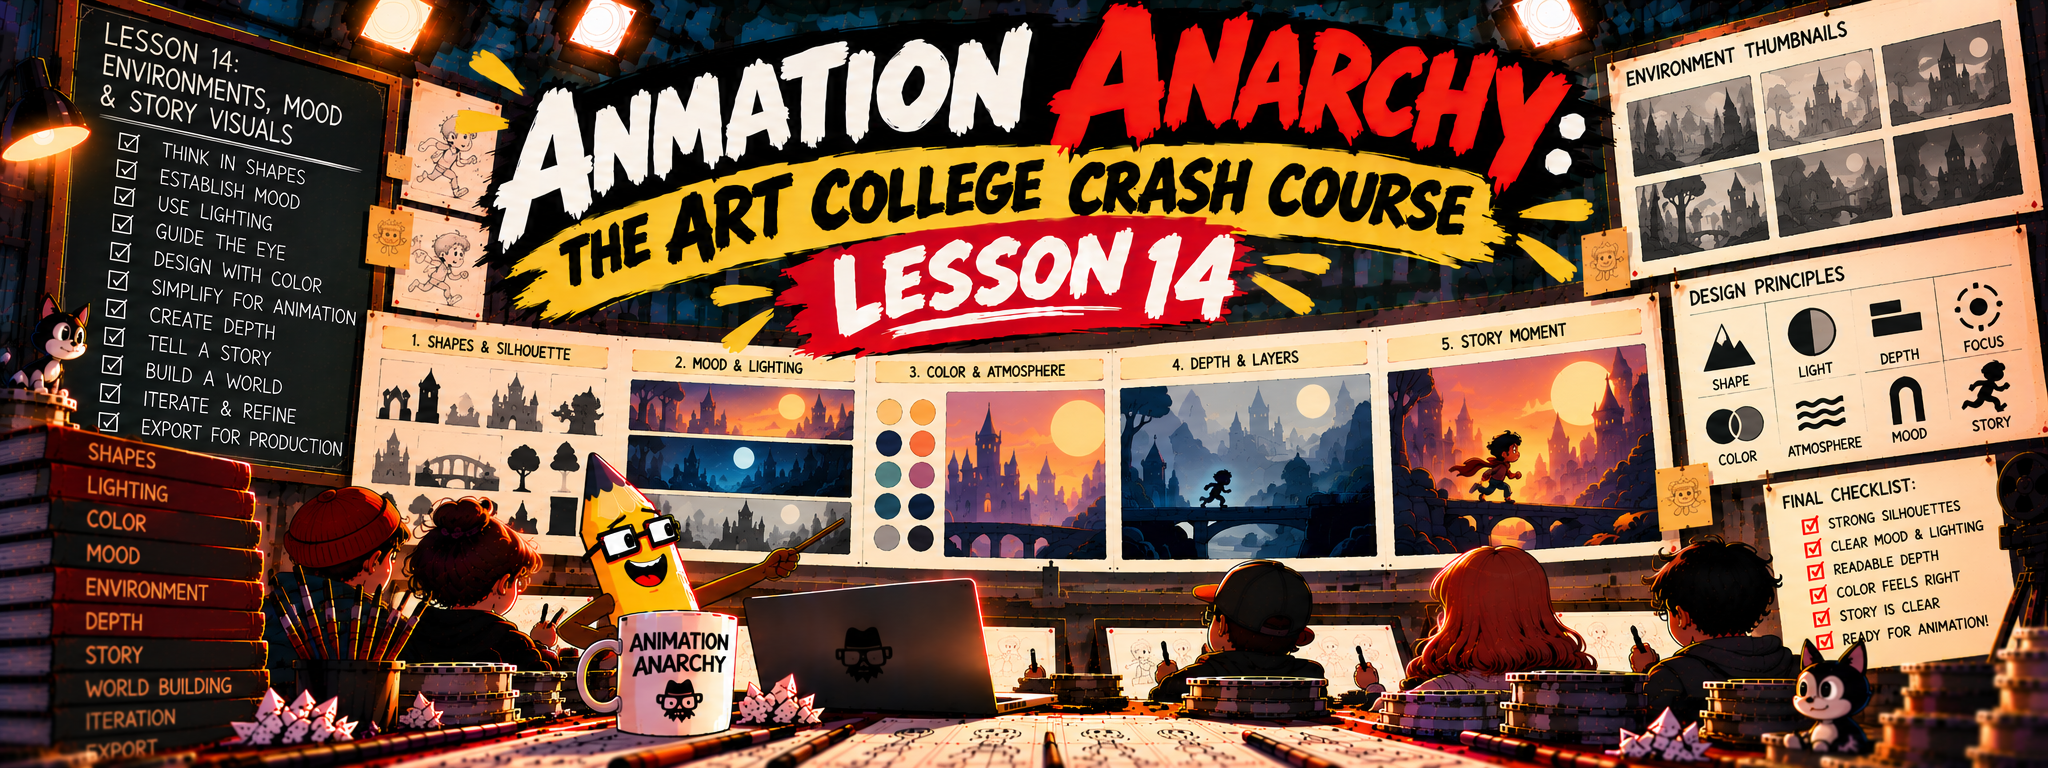
Or: how to make your character talk without looking like a nutcracker.
You expect your first talking character to look like Pixar. Instead, the mouth flaps open and shut like a goldfish.
Don't worry. Everyone's first lip sync looks like that.
Why lip sync is hard
People are experts at watching faces. We notice instantly when speech looks wrong.
Mouth shapes don't match letters one-to-one.
If only the lips move, the character looks frozen.
The goal: make the whole face feel like it's talking, not just match the mouth to the sound.
The six rules of lip sync
Rule 1: Don't animate every sound. Pick the key mouth shapes (animators call them "visemes" or mouth charts) and let them flow into each other. Rhythm matters more than perfect accuracy. Common mistake: a mouth that pops open for every tiny sound.
Rule 2: Start with the jaw. Animate the jaw opening and closing first. Add lip shapes after. Stressed words get a bigger jaw drop. Common mistake: the jaw never moves, and only the lips wiggle.
Rule 3: Remember the tongue and teeth. "TH" shows the tongue between the teeth. "L" lifts the tongue to the roof of the mouth. Keep it subtle.
Rule 4: Use the whole face. Eyebrows, cheeks, eyes and head tilts all help sell the line. Hit the important words with an expression change. Common mistake: a big emotional speech with a face that never changes.
Rule 5: Timing beats perfection. Many animators put the mouth shape a frame or two before the sound. Slightly exaggerated shapes often read better than "correct" ones.
Rule 6: Test it on mute. Watch your animation with the sound off. Can you almost read the words? Act it out in a mirror to find the natural emphasis.
How to practice
Start with short words. "Wow." "No." "Hello."
Film yourself. Your own face is the best reference.
Block key shapes first. Then fill in the gaps.
Watch funny dubbed videos. Notice what looks wrong, and why.
Try this
Record yourself saying, "Oh no, not again!" Watch it back frame by frame. Draw the jaw positions only. Then add the mouth shapes and eyebrows. Play it back with the audio.
Up next
Lesson 15: The Laws of Light and Shadow. Why your art still looks flat.
What's the trickiest word you've ever animated? Tell us in the comments.
The revolution will not be graded.
New episodes drop on YouTube first. Subscribe to Mr. Bray Labs so you never miss one.